Best Drywall Patching Methods for Lasting Repairs
A wall can be freshly painted and well maintained, yet one doorknob hole, popped fastener, or spreading crack can make the whole room feel neglected. The best drywall patching methods match the repair to the size and cause of the damage, then put equal care into sanding, priming, and paint blending. That is what separates a quick cover-up from a repair that stays invisible.
For homeowners, drywall repair is often more involved than it first appears. The hole may be small, but the surrounding board can be loose, damp, or poorly supported. A lasting result begins with a close look at what happened before any compound goes on the wall.
Start by Identifying the Cause of the Damage
Drywall damage is not all the same. A small picture-hanger hole is a surface repair. A dent from furniture may need a little more filling and shaping. A crack above a door, along a ceiling seam, or near a window can point to normal seasonal movement, but it can also indicate framing movement or a failed joint.
Water-stained drywall deserves special attention. Before patching, find and correct the leak, condensation issue, or plumbing problem. Drywall that remains damp can soften, grow mold, and fail again even if the finished surface looks good for a short time.
Also check whether the damaged area feels firm. If the paper face is torn but the gypsum core is solid, it can often be sealed and repaired. If the board is crumbling, bulging, soft, or loose from the framing, cutting out the affected section is usually the better choice.
Best Drywall Patching Methods by Repair Size
The right method depends largely on the width and depth of the damage. Using too much compound on a large opening can lead to shrinkage and cracking. Using a patch that is too rigid or poorly supported can leave an outline visible after painting.
Small nail holes, screw holes, and shallow dents
For small holes, lightweight spackle or drywall joint compound is generally enough. Remove any loose paint or broken paper first, then press a small amount of compound into the opening with a flexible putty knife. The goal is to fill the hole, not leave a thick layer sitting on top of the wall.
Let the first coat dry fully, then sand it lightly with fine-grit sandpaper. A second, very thin coat may be needed because most fillers shrink slightly as they dry. Once smooth, prime the patch before painting. Primer prevents the repaired spot from absorbing paint differently than the surrounding wall, which can create a dull, flashing appearance.
Medium holes and damaged areas up to several inches wide
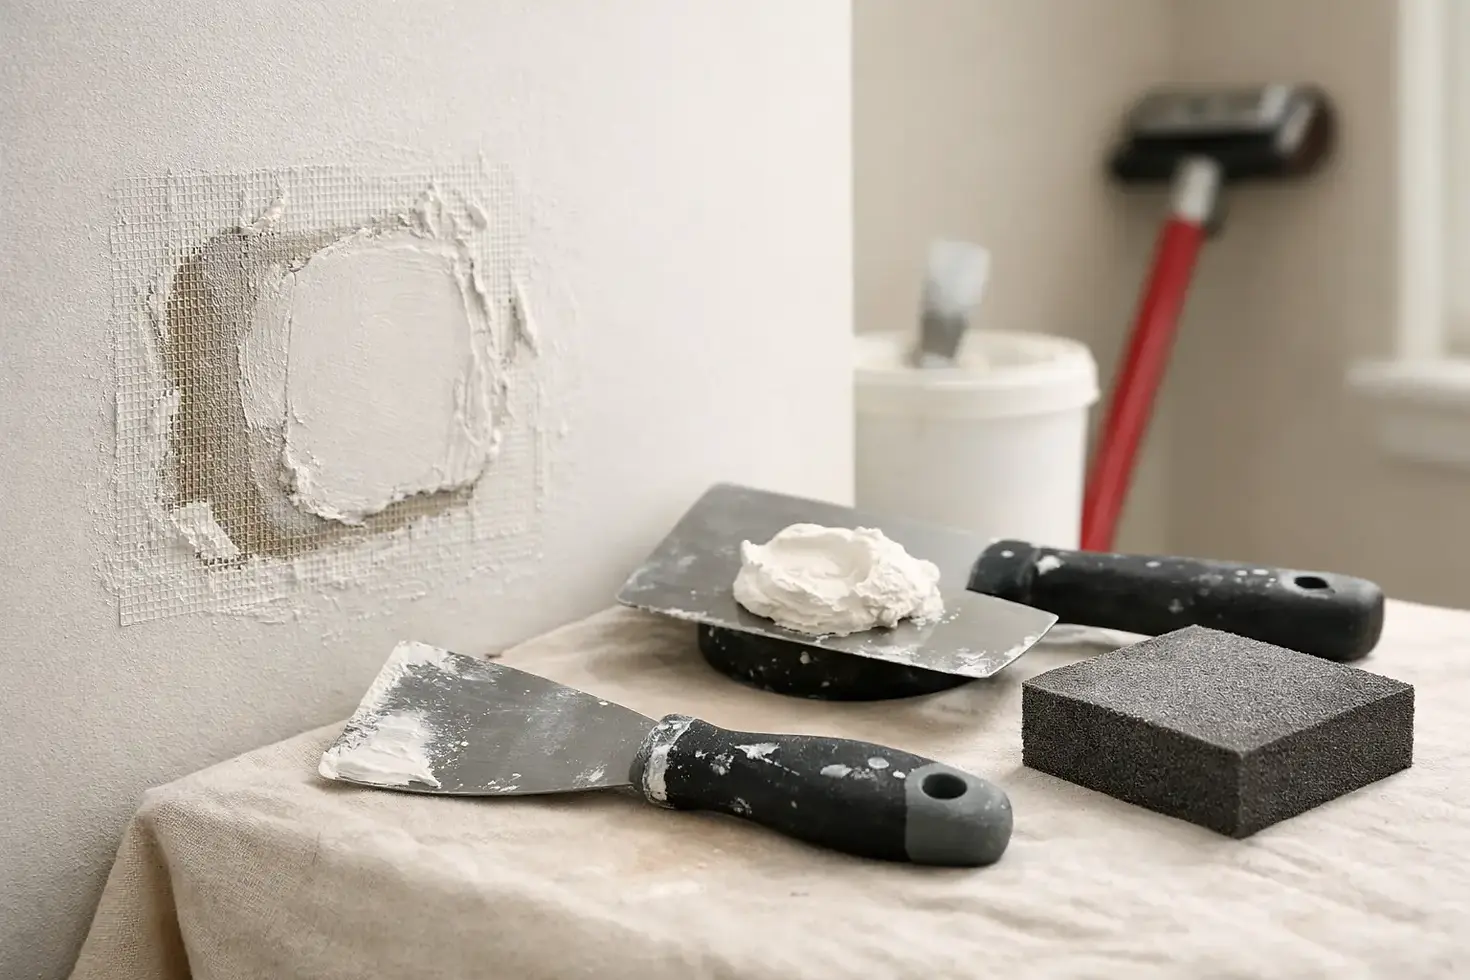
For holes made by door handles, misplaced wall anchors, or accidental impacts, a self-adhesive mesh patch can be a practical option. The metal-backed versions provide a firm bridge across the opening, while mesh tape patches work well when covered with several thin coats of compound.
The trade-off is that a mesh patch can leave a noticeable raised area if the joint compound is not feathered wide enough. Rather than building a thick mound over the patch, apply the first coat to cover the mesh, then use wider knives on later coats to gradually blend the repair into the wall. A 6-inch knife followed by a 10-inch or 12-inch knife often creates a more natural transition.
For a more durable repair, especially in a high-traffic hallway or near a door, a solid drywall patch with wood backing is often the better method. It takes more time, but it restores the wall with actual drywall rather than relying on a surface patch.
Large holes and missing sections of drywall
When damage is larger than a few inches, cut the opening into a clean square or rectangle. This may seem counterintuitive, but straight edges make it much easier to install a properly fitted patch. Remove damaged material back to solid drywall and make sure there are no electrical wires, plumbing lines, or other hidden components in the cut area.
Install wood backing strips inside the opening, securing them through the existing drywall on each side. Then cut a new piece of drywall to fit the opening and fasten it to the backing. The patch should sit flush with the surrounding wall, not recessed or proud of it.
Tape every joint with paper tape or fiberglass mesh tape, then apply joint compound in multiple thin coats. Paper tape is a dependable choice for flat seams and inside corners because it creates a clean, strong joint when embedded correctly. Mesh tape is convenient, but it is often best paired with a setting-type compound for strength and crack resistance.
Cracks along seams, corners, and ceilings
A crack should not simply be filled with compound. If the seam underneath has separated, the repair needs reinforcement. Open the crack slightly with a utility knife to remove loose material, then apply tape over the area before adding compound. For recurring cracks, wider paper tape or a crack-repair tape can help distribute movement across a larger area.
Ceiling cracks can be especially challenging because overhead lighting makes even slight unevenness visible. Multiple thin coats, broad feathering, and careful sanding matter more than speed. If a crack continues to return, it is worth having the framing and ceiling movement assessed rather than repeating the same cosmetic repair.
The Finishing Work Makes the Repair Disappear
Most drywall patching failures are finishing failures. The hole may be filled, but the patch remains visible because the compound edge was too narrow, the surface was oversanded, or the paint sheen does not match.
Apply joint compound in thin layers and allow each coat to dry completely. Rushing between coats can trap moisture and lead to a soft, uneven repair. Each new coat should extend farther beyond the previous one, creating a gradual, nearly flat transition. On a smooth wall, the final feathered area may need to extend 10 to 16 inches beyond a medium-sized patch.
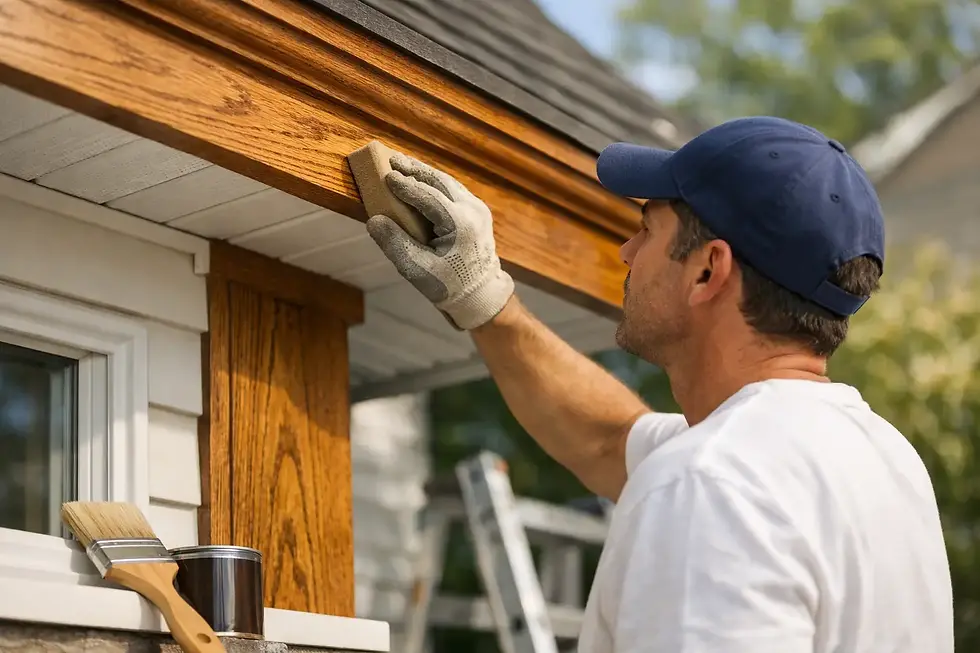
Sand with a light touch. Aggressive sanding can expose tape, damage the drywall paper, or create a shallow dish around the repair. A sanding block or pole sander keeps the surface more even than sanding with loose paper in your hand. Use a work light held at an angle to the wall to reveal ridges and low spots before priming.
Texture also matters. Orange peel, knockdown, and hand-applied textures need to be recreated before paint goes on. A perfectly smooth patch on a textured wall will stand out just as much as a poorly sanded patch. Test the texture method on scrap cardboard first when possible, then blend it beyond the patch edges rather than stopping at the repair line.
When a Professional Repair Is the Better Choice
A homeowner can often handle a small nail hole or minor dent with basic tools and patience. Larger openings, recurring cracks, water damage, ceiling repairs, and textured walls are different. These jobs may require cutting and replacing drywall, rebuilding corner bead, correcting framing issues, or matching a finish that is difficult to reproduce.
Professional repair is also a sensible choice when the damaged wall is in a prominent area such as an entryway, open living space, stairwell, or finished basement. In those spaces, lighting and sightlines make minor imperfections more obvious. A skilled repair saves time, reduces dust and disruption, and helps protect the value and appearance of the home.
With more than 30 years of trade experience, Nevada Contracting & Renovations Inc. approaches drywall repair as part of the home’s overall finish, not just a hole to fill. Proper preparation, sound backing, clean taping, and careful paint-ready finishing are all part of workmanship that lasts.
Before buying patch materials, take a moment to look beyond the surface damage. A repair that addresses the cause, uses the right support, and is finished patiently will let the wall return to doing what it should: disappearing quietly into a well-kept home.


Comments